Copyright of Content and Name of Todolwen Karen Bailey 2013

.
Showing posts with label roses. Show all posts

Tuesday, September 6, 2011

My Long Weekend

Hello my dear friends,

where do I start today? Saturday was a disaster all round. I had to cancel my plans with my girls due to workers not doing what they are meant to do ~ my outdoor project aka pool ~ and me having to try and sort everything out so I don't fall too far behind with the work I have to do and the other contractors as well. I can tell you I was so annoyed and frustrated I could have blown up!!

Sunday morning was meant to be another morning out with the girls and fortunately we only had to delay our plans to visit a flea market for 3 hours and not completely so we tried to make the best out of it and in the end we all had a nice time. I found something little and I already know what I am going to create with it which makes me feel so much better than I did all last week. Once I am finished I will of course share my creations with you!


This is my little something ~ old tops of shakers and a little jar lid.


How sad! A small town near to us got hit by a nasty storm and some very big beautiful trees were destroyed.
The family that lost this tree also lost several more and their small barn as well.


Remember a post ago I told you about my old rosebush and how it had some new buds? Well I was wrong...
it must be our weird weather but now the entire bush is blooming again!! It looks so beautiful!!

I am so excited to finally have a creative thought again and to work on it apart from all the digging I have already done and still have to do. I never knew how long it takes to weed a large flowerbed and how much your hands and arms can ache afterwards but it needs to be done and that's what I am going to hopefully finish this week ~ wish me luck and strength!! Once I have new pictures I will share them with you.

I hope you are all well.

Have a peaceful and creative day,

Karen B.

Saturday, August 27, 2011

Not Quite There Yet

Hello my dear friends,

it has been so long again since I have been able to get some time to sit down and have a moment to spend on Todolwen and share things with you because I have been very busy with our outdoor project. I haven't even had time to read any of your lovely blogs again since I have spent most of the past 10 days either in the yard working or making sure things were getting done right without anything going wrong. Fortunately I did get a chance to get out on one day for a wee while some time last week and I of course I went to one of my favourite stores to go treasure hunting ...


and I found this!
 This is going to make a great base for a bird cage!!


It is so beautiful!


It is perfect and it doesn't even need gluing!! (Oh by the way I use E6000 when I need to glue anything like this.)


One little thing I did manage to do is to try and make paper clay birds in one of my coffee breaks.


I only got as far as making the plain birds but haven't had the time to do anything else with them so far. I'm still not too sure if they are the way I want them to be and I am still in two minds as to how I should finish them ~ maybe cover them with scraps of music sheets or dictionary pages? I will just wait and see I guess.

Our outdoor project is coming along but we are not quite there yet. So much work has been done by the company and my husband and I are working on the landscaping. We decided to change our riverbed and the bridge so it wouldn't be lost behind the pool which meant we had to move our "rocks" around the yards and we are talking very heavy rocks ~ 120 to170 pounds a piece!! So far we have done a lot but a few days ago our work had to stop when the tornado watch for our city turned into a tornado warning and it was safer inside. We were very lucky that it didn't turn nasty and we just had to put up with a very heavy thunderstorm with a lot of rain but I must admit that I was really glad in a way because the last stone I moved made an old injury to my back return which made it hard to breath and a rest was really needed. My hopes of being OK the next day didn't come so I spent most of my day laying down, not moving too much and resting.


The only time I did go outside to take a look ended with me sinking in to the mud about 10 inches deep and loosing my flip-flop which had to be dug out again (yuck) but it did make me laugh so much!

Our pool is almost done now and I must say I am really happy when this is all over. I was told by a friend that putting a pool in is like major heart surgery to your backyard and they were right!!


The biggest transformation is when the liner is put into the pool.


Add water and presto ~ one pool!!

Today the company is coming to set everything up so hopefully tomorrow we can take our first swim. As you can see all the new topsoil waiting to be spread out. My hubby moved more than 70 wheelbarrows from the front of the house to the backyard on his own ~ WOW!! I think we will still be needing about 3 or 4 weeks to finish everything off since we are doing a lot of the work ourselves.

Last but not least ...


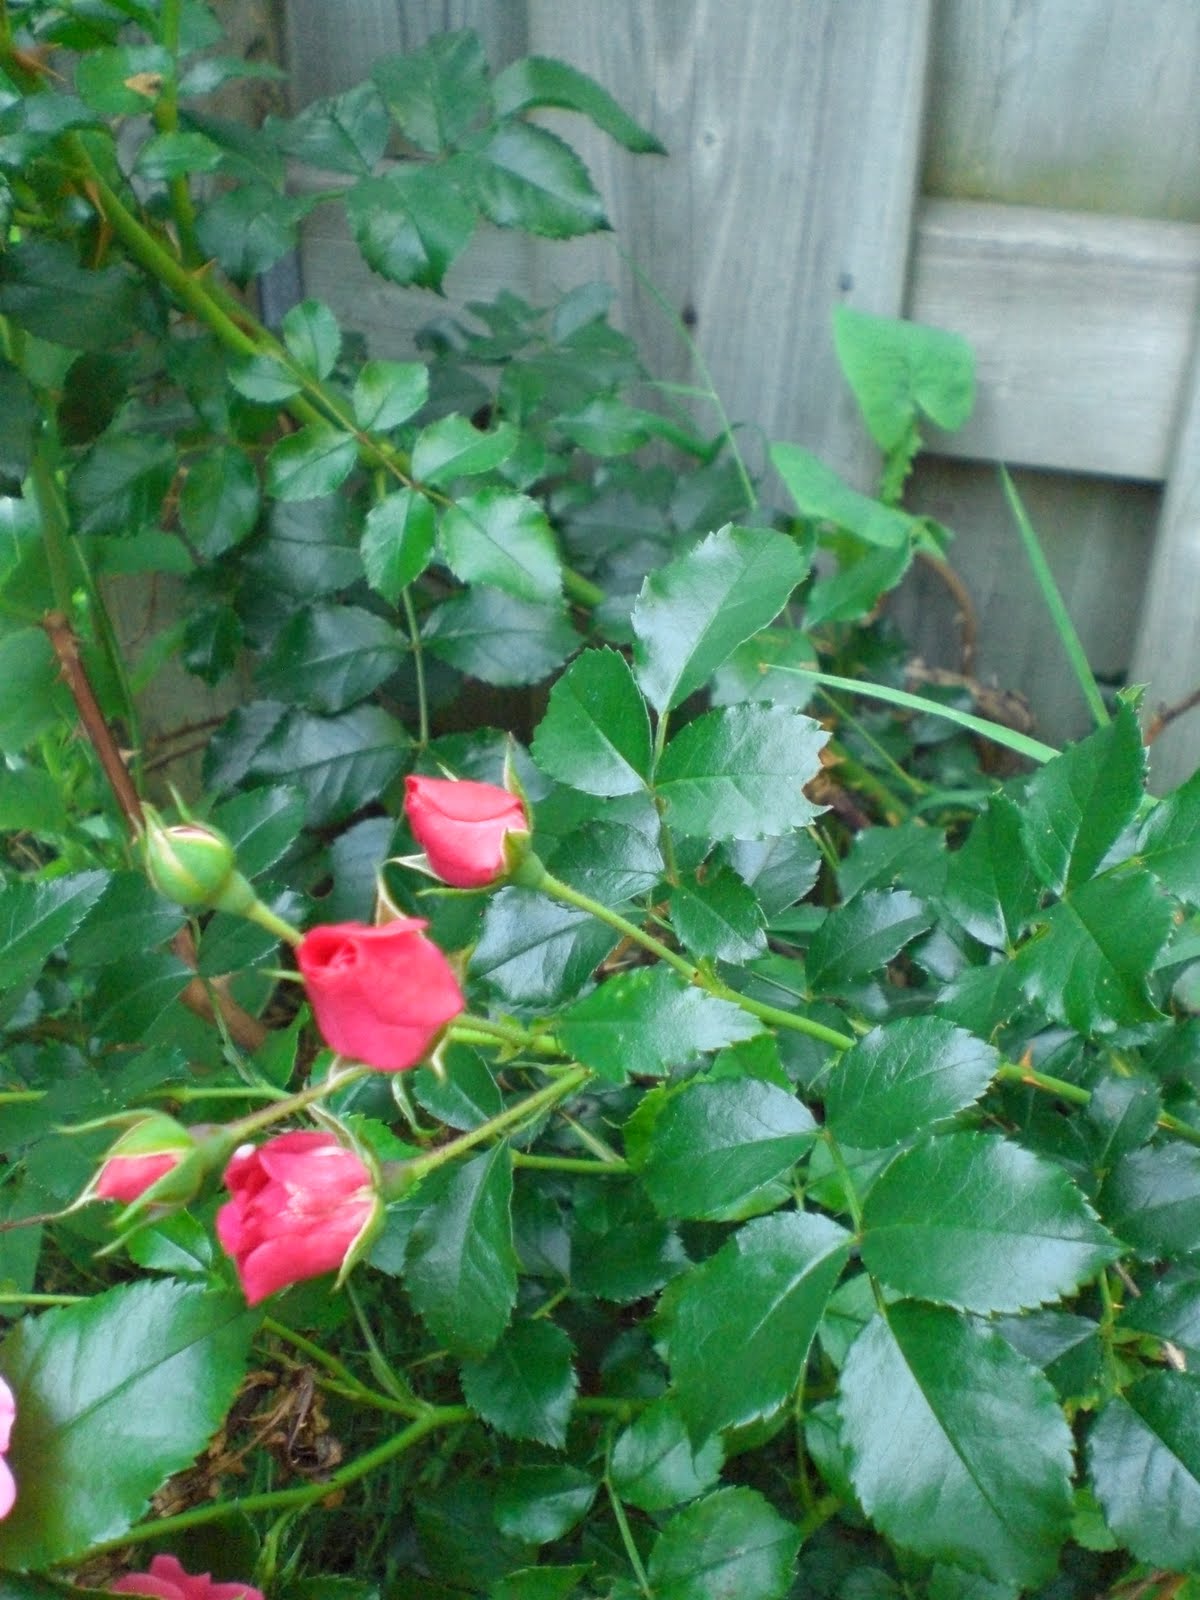
...my last roses of the year.


I thought my little rose bush had decided that it was time to rest for this year but to my surprise I was wrong. Once more tiny buds are growing - only a few, not many but they are so pretty that I had to show you lovely bloggers.

I am hoping that soon everything will be back to normal and I will be able to spend a bit more time in blogland but until then please keep popping by from time to time.

I hope you are all well.

Have a peaceful and creative day,

Karen B.

Monday, July 4, 2011

My Old Rosebush And Odelia

Hello my dear friends,

I have a very old rose bush at the side of my house. I had cut it right down last fall and at first I was worried I might have killed it but this spring it grew right back, even bigger than last year with so many roses.


Always being on the look-out for something  to create with, I took a closer look at the rose bush. I discovered the tiny rose buds and decided to "harvest" some of them to dry.


This is my "harvest".  I am going to wait a week or so and have another one.


These three were my first ones I dried. They are so small, just under an inch. I am planing to use some of these roses in a creation that is somewhere back in my mind and the rest I will save for a cold and grey day this coming winter.

Last but not least ...

Liz, from "Lululizinlalaland" pointed out to me that my little dress form should have a name which I thought was so sweet. No better person for the task but Liz herself to find a name that would be right and she did.

Now my dress form is called....


 Odelia!

What a very pretty name and thank you Liz!

Some of you lovely bloggers have asked me if I would share my pattern for the dress form and I think there was a misunderstanding with what I had said in a previous post. At this moment in time I will not be sharing the pattern but I will share any new dress forms I make. In the future I may either share or sell the dress form pattern and once I have decided I will let you all know! Sorry for any misunderstanding!

Have a peaceful and creative day,

Karen B.

Saturday, July 2, 2011

I Was Inspired!!

Hello my dear friends,

my post today is about me being inspired by a fellow blogger and the result of it. The blogger I am talking about is Dawn from "The Feathered Nest". It is due to Dawn in the first place that I started Todolwen and she still inspires me all the time just like so many of you other lovely bloggers!!

I am sure that many of you out there shop for supplies without knowing exactly what you will do with them. This happened to me with some larger canvases that were on sale at Michaels last week and the baby dress from my recent post. I didn't really have an  idea as to what I was going to do with either of them and then one day I read Dawn's post about her birds nest on the inside of a canvas. I was  taken by her creation and suddenly it just went 'click' in my head and the idea of what to make from a canvas and baby dress was there.


Lovely vintage looking paper roses.


An old vintage book with aged pages.


 Brass hardware from my daughter Ashleigh's old desk.


And some old boot buckles.

The supplies that I needed were waiting upstairs in my craft room, I just had to choose what I was going to use. Once that was decided it didn't take me long to start and finish this creation. I can't believe how sticky your fingers can get when you modge-podge book pages to something, and the worst thing is that if you aren't careful you get stuck to your work and rip pieces back off! (this happened to me more than once with this project and my temper did get the better of me once or twice).


But despite that, here is the result!


For my first attempt I am happy that it turned out nicely, very simple, yet pretty. If you feel like it and have a moment leave me a comment and let me know what you think!!!

And last but not least ...

thank you Dawn, my dear friend, for inspiring me to become a better artist! I hope all of you out there in Blog-Land have someone you can look to for inspiration too, because it makes crafting that much more special.

Have a peaceful and creative day,

Karen B.

Friday, March 4, 2011

Roses In Winter

Hello my dear friends,

today I would like to share one of my new makings. I have been working on some new roses from a tutorial I had found at Anj's blog "Snowybliss".


Anj makes her roses from patterned fabric and I really like the way she created them - I just put my own little twist to them. I decided to use tea dyed muslin and I also added leaves to the stems. Being a hand quilter for many years, I prefer not to use a sewing machine when I craft, because I just love to sew by hand. It is so peaceful and rewarding for me.


This is the link to Anj's blog:

http://snowybliss.blogspot.com/2010/06/long-stemmed-fabric-flowers.html

Why not go and take a look at her lovely creations and her great tutorials?


I am planning to make more of the roses soon. For my next bunch I would like to maybe dye the muslin with food coloring and see how they will turn out. Of course I will show you the result of this.


Another task for me is to fix my wee old bird cage. The swing needs to be rehung again and it also needs to have a new hanging hook. I would have loved to have used something old for this project, but unfortunatly the antique store that I was planning to visit had suddenly shut down. I ended having to buy new brass wire and I am hoping to  find something old and tatty hiding away in one of my boxes that I can incorporate in the project.  I do hope that with time the wire will age and tarnish to match the rest of this beauty.

I have also been working on a few other things this past week, which I am planning to make into small tutorials, if they work out. Hopefully I will be able to work a lot on this weekend and will be successful, so I can share something new next week some time.

And last but not least ...

I would like to share some old pictures from my collection with you.


                          A young woman working in a millner factory, threading large spools.


                                       Two younge victorian girls working hard in a sewing factory.


A little girl playing with her baby doll.

I love these photos because they are not staged in any way. They were taken in a moment of life and I find there is nothing better than that.

I hope you have a  peaceful and creative day,

Karen B.

Friday, February 11, 2011

A New Nest, Roses And A Little Shoe

Hello my dear friends,

I have tried to be busy these past few days and it seems that paper just captures me at the moment. This is what I made from some old music sheets and coffee filters:


I created a new nest made from thin strips of old music sheets. It turned out quite neat, if I might say so. But it was a right struggle at times to try and get the nest to stay together whilst I glued it to a piece of card.  To make it look at bit more "real", I added some "soft fluffy plant cotton" which I gathered on one of my fall walks last year. A few little eggs and there it is ~ finished. I really like the look of this.


I would also like to tell you of a really neat tutorial I found on how to make the most beautiful roses from coffee filters. You can find the tutorial at:


Angela Harris makes the most beautiful roses. They are quite easy to make and look great. You can use white or unbleached coffee filters. The filters can be left plain or you can stamp them with your favorite stamp - which ever way you like it! I used my script stamp and vintage photo ink. Angela has even made roses from filters she dyed pink. They are just beautiful!


The last thing I would like to show you today is a little doll shoe. I found this in a bag of old baby shoes I bought over the weekend from an antique store.


 The shoe is made from leather and is just perfect. It is just over 2 inches long. I am not sure what I am going to make out of this little shoe. Has anybody have an ideas? I would love to hear from you.

Have a peaceful and creative day

Karen B.