Copyright of Content and Name of Todolwen Karen Bailey 2013

.

Wednesday, March 30, 2011

Another Great Giveaway Coming Up!!

Hello my dear friends,

just a short post to let you know of another great upcoming giveaway.

My dear sweet friend Dawn from "The Feathered Nest" is having a giveaway in April!!!


I personally can't wait to see what she will be giving away this time - can you?
You know what to do now - drop by her blog and take a look!!!
And last but not least ...


another something little called pincushions, I know - again! I made these a while ago and I wanted to share with you. Both are made from vintage lace, old buttons, crochet pansies and old tarnished baby cups.

Have a peaceful and creative day,

Karen B.

Tuesday, March 29, 2011

Two Most Fabulous Giveaways And New Pincushion Makings

Hello my dear friends,

I just wanted to let you know that there is a most fabulous giveaway taking place at "Tales from an OC Cottage". You should drop by and look at the most beautiful items you could be gifted!!


You will be amazed to see so many wonderful items that are to be won in this one giveaway. So much thought has been put into the gifts and they are breathtaking.

Also ...

Vicki at the "Rusty Rooter Vintage" is having a giveaway MONTH!!! 


 Every Sunday a giveaway will take place, but not only once in April - but every Sunday in April. WOW!! So, go and take a look at Vicki's blog and check it out!

And last but not least ....

I few of my pincushion makings.


I made these some time last year before I was a blogger, but I didn't have a chance to share them  with you yet. I hope you like them.

Have a peaceful and creative day,

Karen B.

Sunday, March 27, 2011

My New Companion and A Bit More To Share

Hello my dear friends,

it is taking much longer for my back to get better than I thought it would, so sitting for longer periods of time is still a problem and it means less crafting time for me - so sad! One thing that is making me feel good - the sun is shining so beautifully today!!

Something I wanted to share with you today is a little tip about a new companion, that I wouldn't do without anymore. It comes in the shape of a little notebook. I have got two now, since I had misplaced my first one which I happened to find a few days later.


Wherever I go, my little booklet goes with me. It's best friends with either pencil or pen in my bag. So many times when I was out and about - at Timmie's, the grocery store or at the dentist, I would see something that would inspire me or I would come up with an idea for a new creation or a tutorial I would love to make and I would have nothing to write it down on. I would be lucky to find a scrap of paper, an old receipt or a paper napkin in my pocket and I would note it down on it, but some of times when I had a really good idea -  there was nothing on hand and then I would forget something. I would actually be angry at times about it.


A good example is, the tassel idea came to me at my daughter's dentist appointment earlier this week. At times my head is just full of  'life stuff' there is not too much room to store crafting ideas. 


Right now I am working on the "Wee Bird " tutorial. I am hoping to have it ready soon. Not being able to sit for long doesn't really help. I do almost all my sewing by hand, it tends to take a bit longer than sewing with a machine, but standing up and doing it is hard. That's why the ribbon tassel was easy for me to do, no sitting involved really.

And last but not least ... 


Another little thing to share. Yesterday my 10 year old daughter Caylagh wanted to craft something so we decided to use bits and pieces that she could find in my craft room. She isn't finished yet with her creation, but I just wanted to show you what she is making. She covered an old cigar box with music sheets (Mom helped) and then decorated it with a print of two dancers and some other bits and pieces. I think it looks lovely so far!


The inside has also been covered with music sheets and she has used some scrabble pieces and a charm to decorate the inside of the lid. It's not finished yet, but I will show you the end result when it is done.

I wish you a creative and peaceful day,

Karen B.

Saturday, March 26, 2011

Ribbon and Lace Tassel Tutorial

Hello my dear friends,

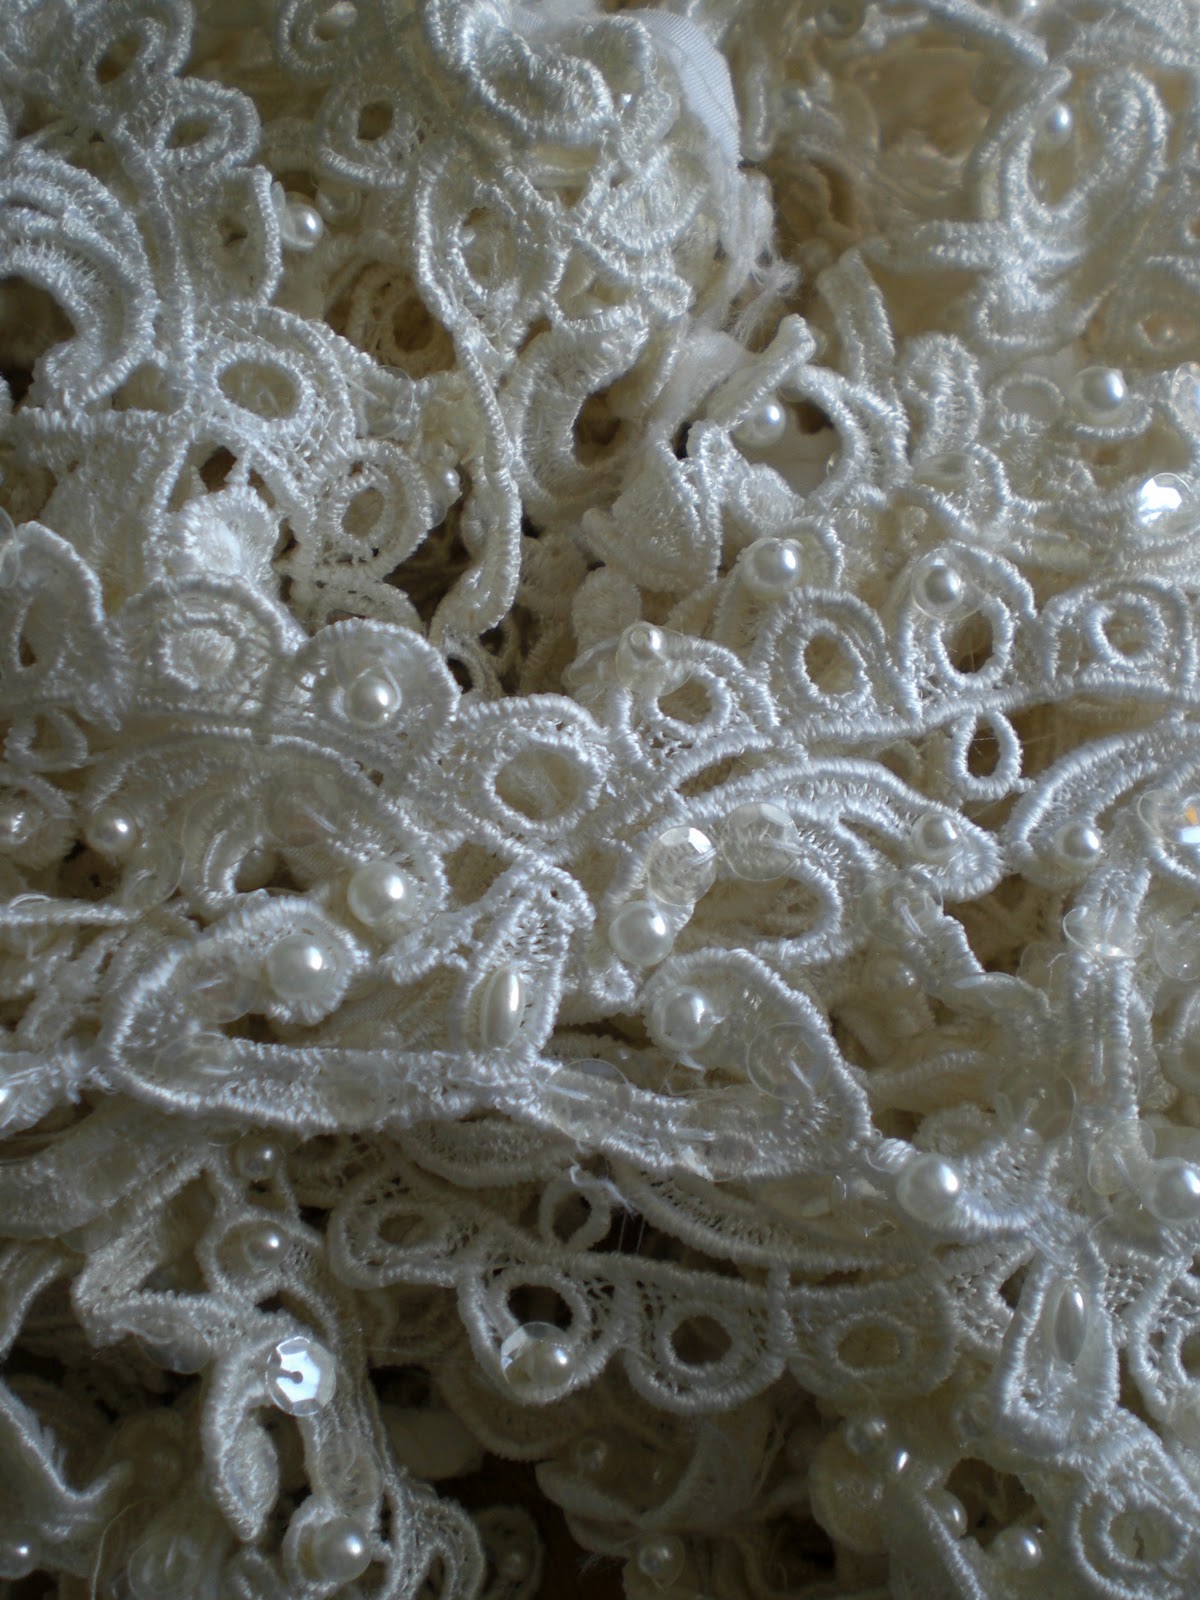
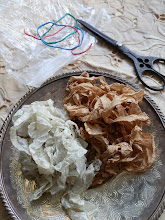
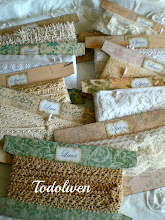
this is what I made with some of the lace I showed you yesterday. It is a decorative tassel which you could use to hang on your door, wall or anywhere you would like. I didn't buy anything for this creation - I found everything in my craft room and it is very easy to make.


The measurements are only a guideline. You can make this tassel any size you would like, it all depends on what you would like to use it for and where you would like to hang it.
 
 
What you will need:

- Ribbon, lace, cotton trimmings, organza in various colors or shades of a color of your choice -   
  I used 16 types of ribbons/lace in different widths.
- 2 old keys
- 2 old buckles - mine were either shoe or watch buckles.
- An old hinge - the one I used had 3 holes on each part.
- A vintage brooch - which I didn't use in the end, but that's up to you.
 
 
How to make the tassel:

Start by cutting your ribbons/lace into the lengths you will use. My longest piece was 42 inches long and my shortest was 36 inches long. I used 15 different ribbons/lace for the tassel and one piece of 26 inch lace for the hanger.
 
 
 Cut the ends off diagonally.
 
 
 The next step is to lie your ribbons/lace down and find the center of them.
 
 
Now using the 26 inch piece of lace, tie the center of the ribbons/lace together.
 
 
 Then place your hinge onto where the knot is and using the ends of the 24 inch lace tie the hinge to the ribbons/lace and make a double knot.
 
 
Make a knot further down the piece of 26 inch lace. This will make the hanger.
 
 
Using thin organza ribbon, (or you can use other ribbon if you like) loop tie it to each of your keys. This ribbon was cut into two different shorter lengths.  
 
 
Thread the ends of the 2 ribbons with the keys through the center hole of the hinge.     

 
Make a knot into the ribbons. This will hold the keys in place.
 

 Tie the ends into a small bow...
 
 
and cut the ends off diagonally.
 
 
 Using a very thick needle make a hole into the ribbon where you would like to place your buckle and thread your ribbon through the buckle.
 
 
 This is what it will look like once the buckle is attached.
 
 
Now you can make some single knots into individual pieces of ribbon/lace closer to the ends.

 
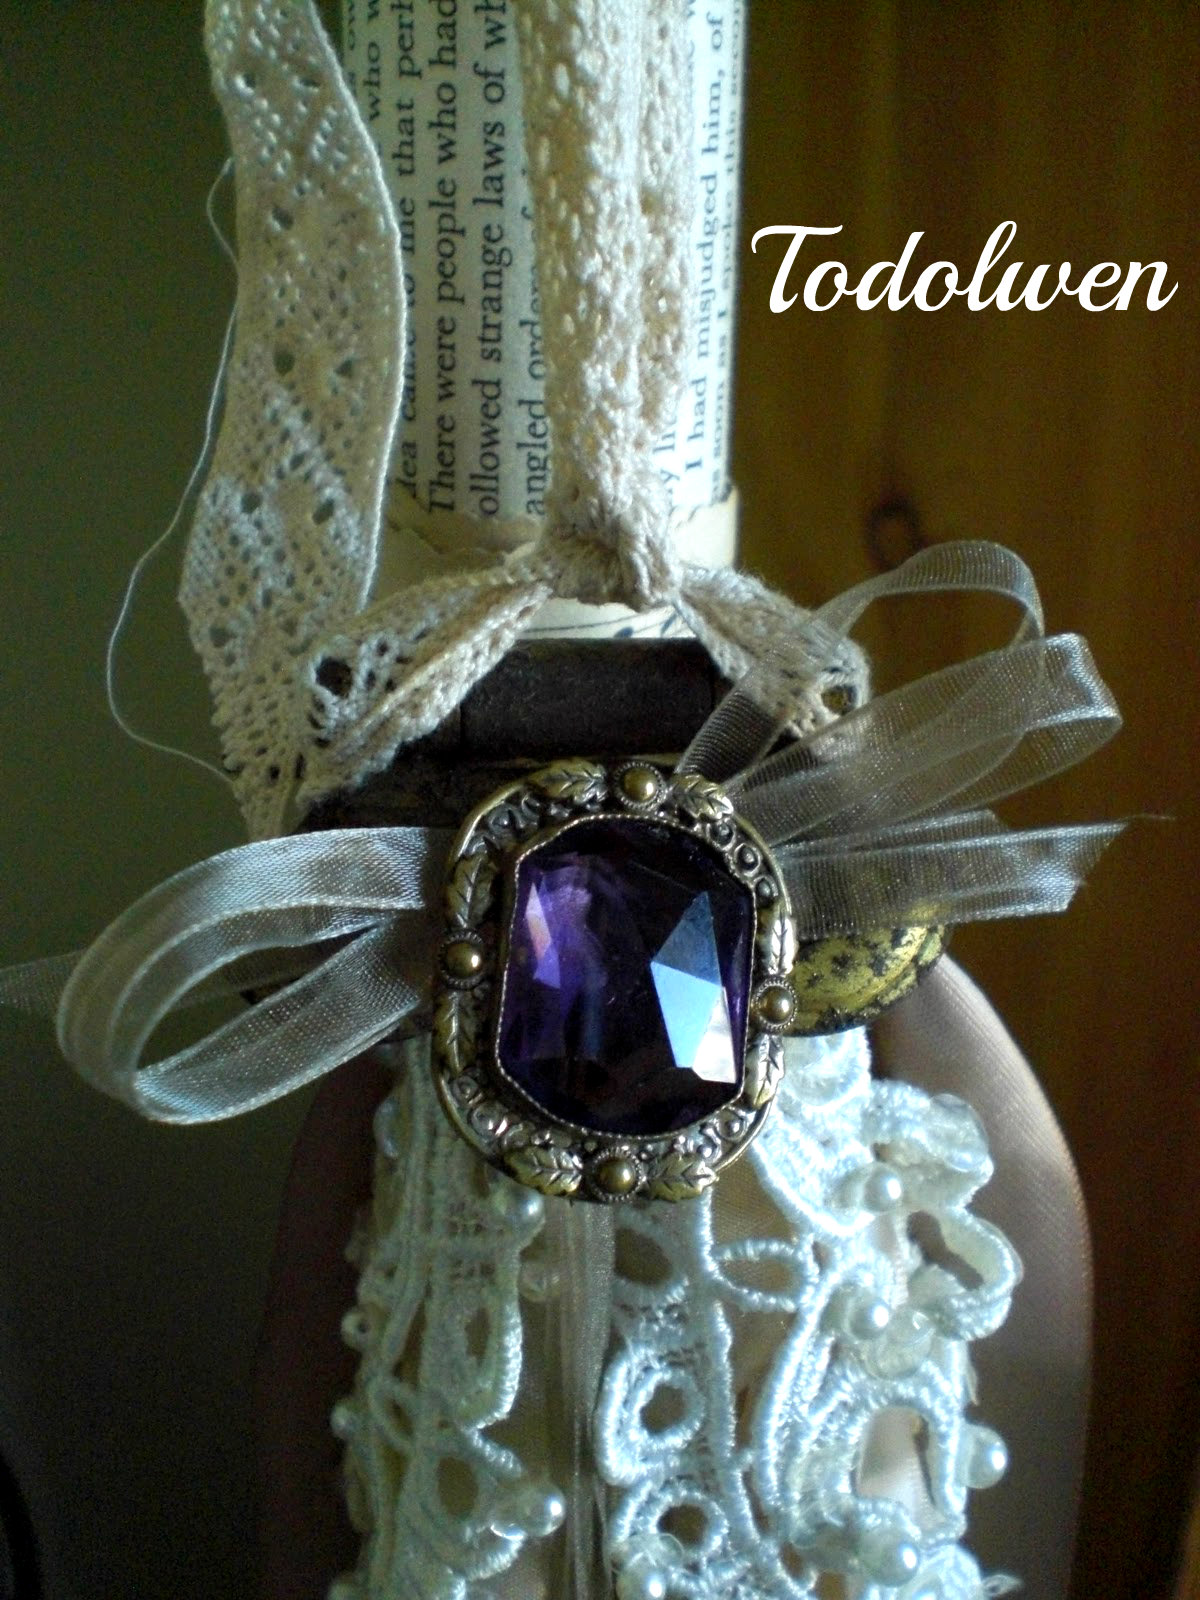
 You are almost done! If you like, you can decorate your hinge with a vintage brooch like in this picture, but you don't have to. I ended up not using the brooch after all.

 
 I prefer the plainer look, so you don't lose sight of the hinge.

 
 A closer look at the keys and how they are placed ...

 
and a closer look at the ends of the tassel.

Your tassel is now finished! This would make a lovely little gift for yourself or a friend.
I hope you have enjoyed this little creation and tutorial, please let me know what you think!

Have a peaceful and creative day,

Karen B.

Friday, March 25, 2011

It's Here!!!!!

Hello my dear friends,

I am so excited!!!! My gift from Sonya's giveaway at Counting My Blessings has arrived today!!!

                                http://www.countingmyblessings-sonyawalker.blogspot.com/                                     

Yay!! I have never before won anything like this, so I feel like a child on Christmas morning!! Did I already say this - YAY!!! And please go and take a look at Sonya's blog - she makes the most wonderful things!

So here we go ...

it's a big box and it's all mine!!! (I know, I am now getting carried away -  did I mention - I am so excited!!!)


The wrapping of the box has revealed a nice surprise - it has a beautiful Christmas scenery on it. 


One step at a time and carefully - I can't wait to see whats inside the box and under all this stuffing...


Oh, how beautiful! I saw the pictures of the beautiful creation on Sonya's blog, but the pictures just do not do it any justice at all - it is so BEAUTIFUL!!


Even Alexia the cat likes Sonya's paper!


Another surprise to unwrap - YAY!!! I wonder which treasures this super pink paper is hiding?


Wow! A lovely decorated tin!!! It is so pretty !!!! Time to open it up ....


Oh my, so many little goodies are hiding in here.


And the inside of the tin is just a pretty as the outside.


And look at all the little treasures Sonya has gifted me with. She is such a sweetheart!!!


Another little present to unwrap. I know what it is, I just can't wait to see it!


I LOVE IT!!! It is so sweet and precious!!


I just wanted to show the wrapping paper that was covering the box. I am going to save it and think of how I can maybe reuse it in one of my creations. The paper was in itself a gift!


I also just wanted to show you the wonderful creation in full.

Sonya, you sweet girl, thank you so much for your kindness and your beautiful gifts. You have made me very happy.

And last but not least ...

This is something I picked up yesterday whilst out and about. I think it's lace from a wedding gown or brides vale, but I'm not sure. There was about 10 yards at least in the bag and it's really nicely embellished with pearls and ...


I have made something with some of this lace today and I am writing up a little tutorial for it tonight. That means if you would like to see what I made and how to make it, you will have to check back here very soon.

I hope you have a peaceful and creative day,

Karen B.