Copyright of Content and Name of Todolwen Karen Bailey 2013

.
Showing posts with label nests. Show all posts

Wednesday, August 3, 2011

For The Love Of Nests

Hello my dear friends,

I can't believe that I almost forgot to share these with you! They have been tucked away on a shelf in my garage all summer and just now it popped into my mind that I haven't told you about them.

Last spring our city decided to have a big spring clean for all the trees. For weeks you would see workmen out with ladders and saws clipping all the avenue trees in our neighbourhood of overhanging branches making sure that trucks and large vehicles wouldn't damage them or be damaged. Unfortunately that also meant that branches with birds nests would have to be removed as well.

On one morning I was taking a walk and I spoke to one of the workers asking what they do with the nests to which he replied that the would be thrown away into the chipper just like all the other branches. I thought it was very sad that something so beautiful would just be destroyed so I asked if he would keep the nests he would have to remove.

Some days later I received these from him.


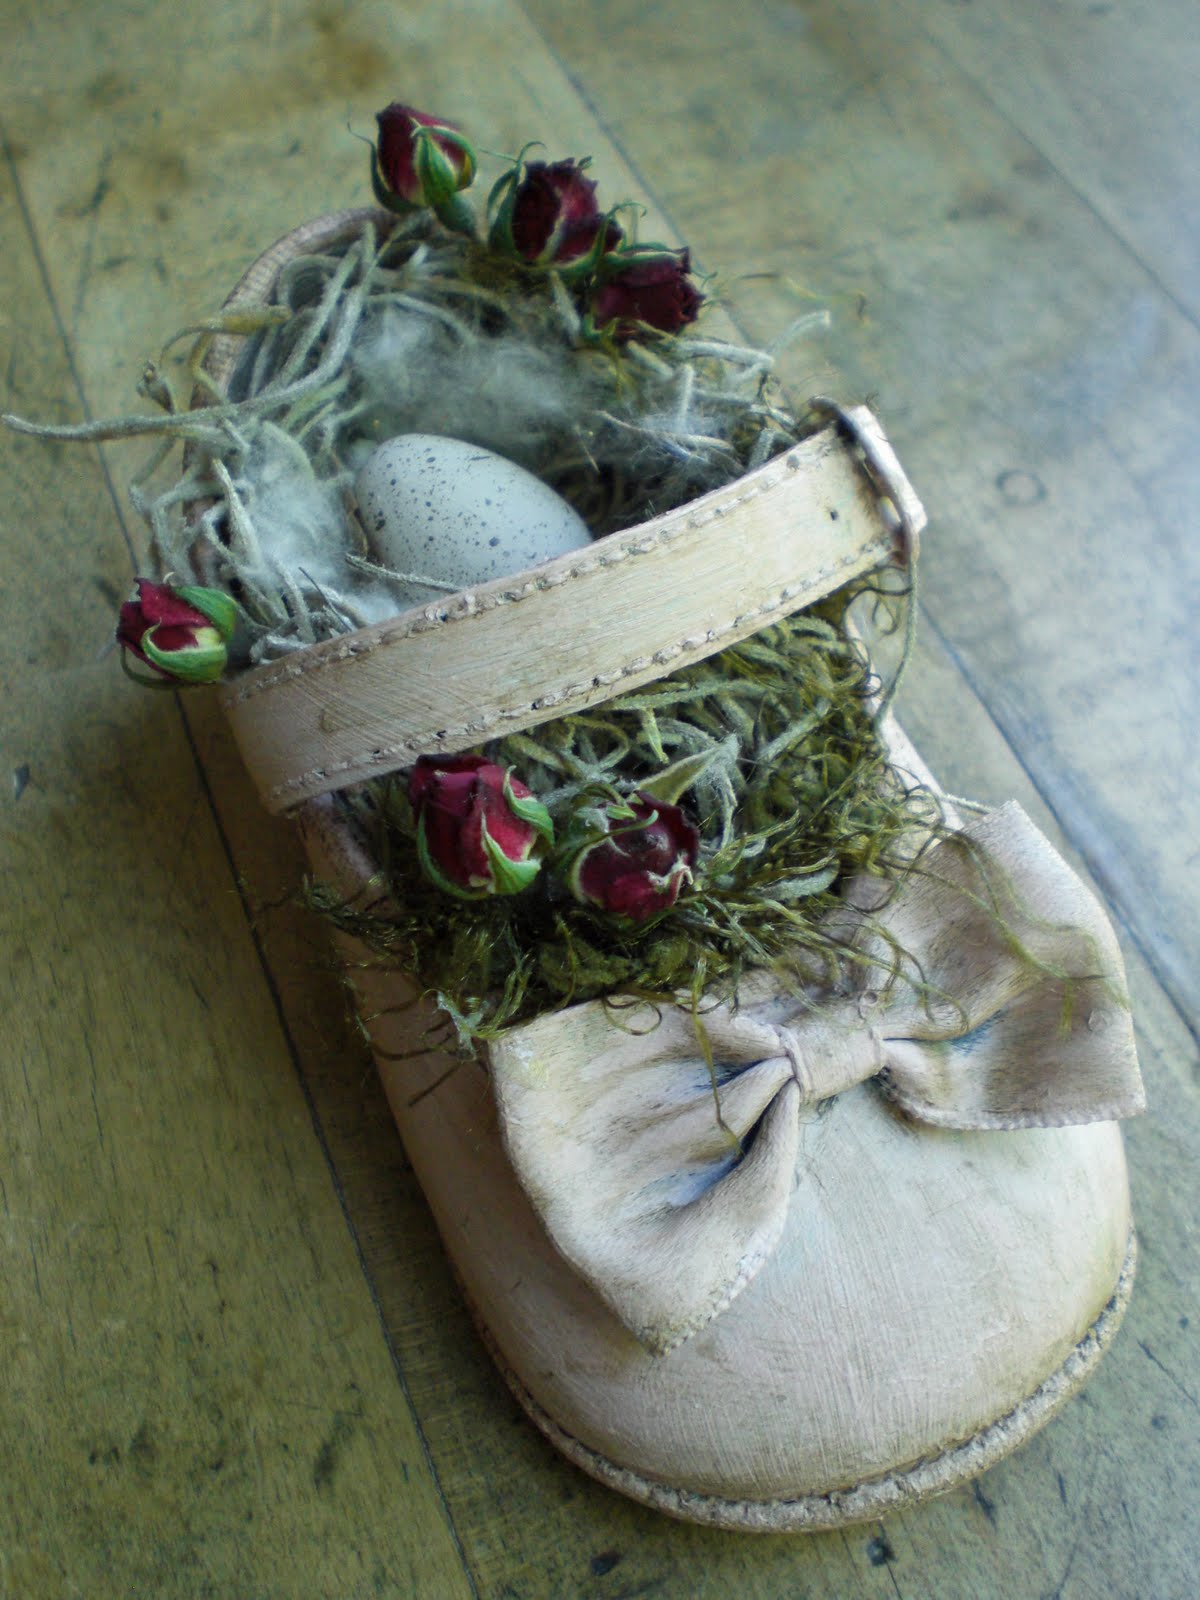
This nest had fallen out of the branches as they were being cut off. Even though it hit the ground it is in perfect condition! I find it amazing what a little feathered creature can do with it's beak.


These two both were cut down very carefully with the branches. One is a larger nest ...


and the other is a smaller one ..


 and it even still has a nut attached in the center of it!

I am so fortunate to have these wonderful creations of nature! I would have been such a shame for them just to been thrown into the trash. I still have to treat them before I can take them inside my house. My dear friend Dawn at the "Feathered Nest" has given me advice on what to do to make it possible. Thank you Hun!

These are my newest findings from a thrift store.


I found these "man-made" nests in a local thrift store a few days ago. They look almost real and the neat thing is that they can stand freely. I just have to find the right place for them now.

Last but not least ...

... I would like you to meet Patches. She is a small neighbourhood cat that we love so much. In the summer time she sleeps in our front yard a lot under the evergreens where it is nice and cool in the shade and in the winter - before the snow comes - she rests on our front door mat. She must like us very much too.


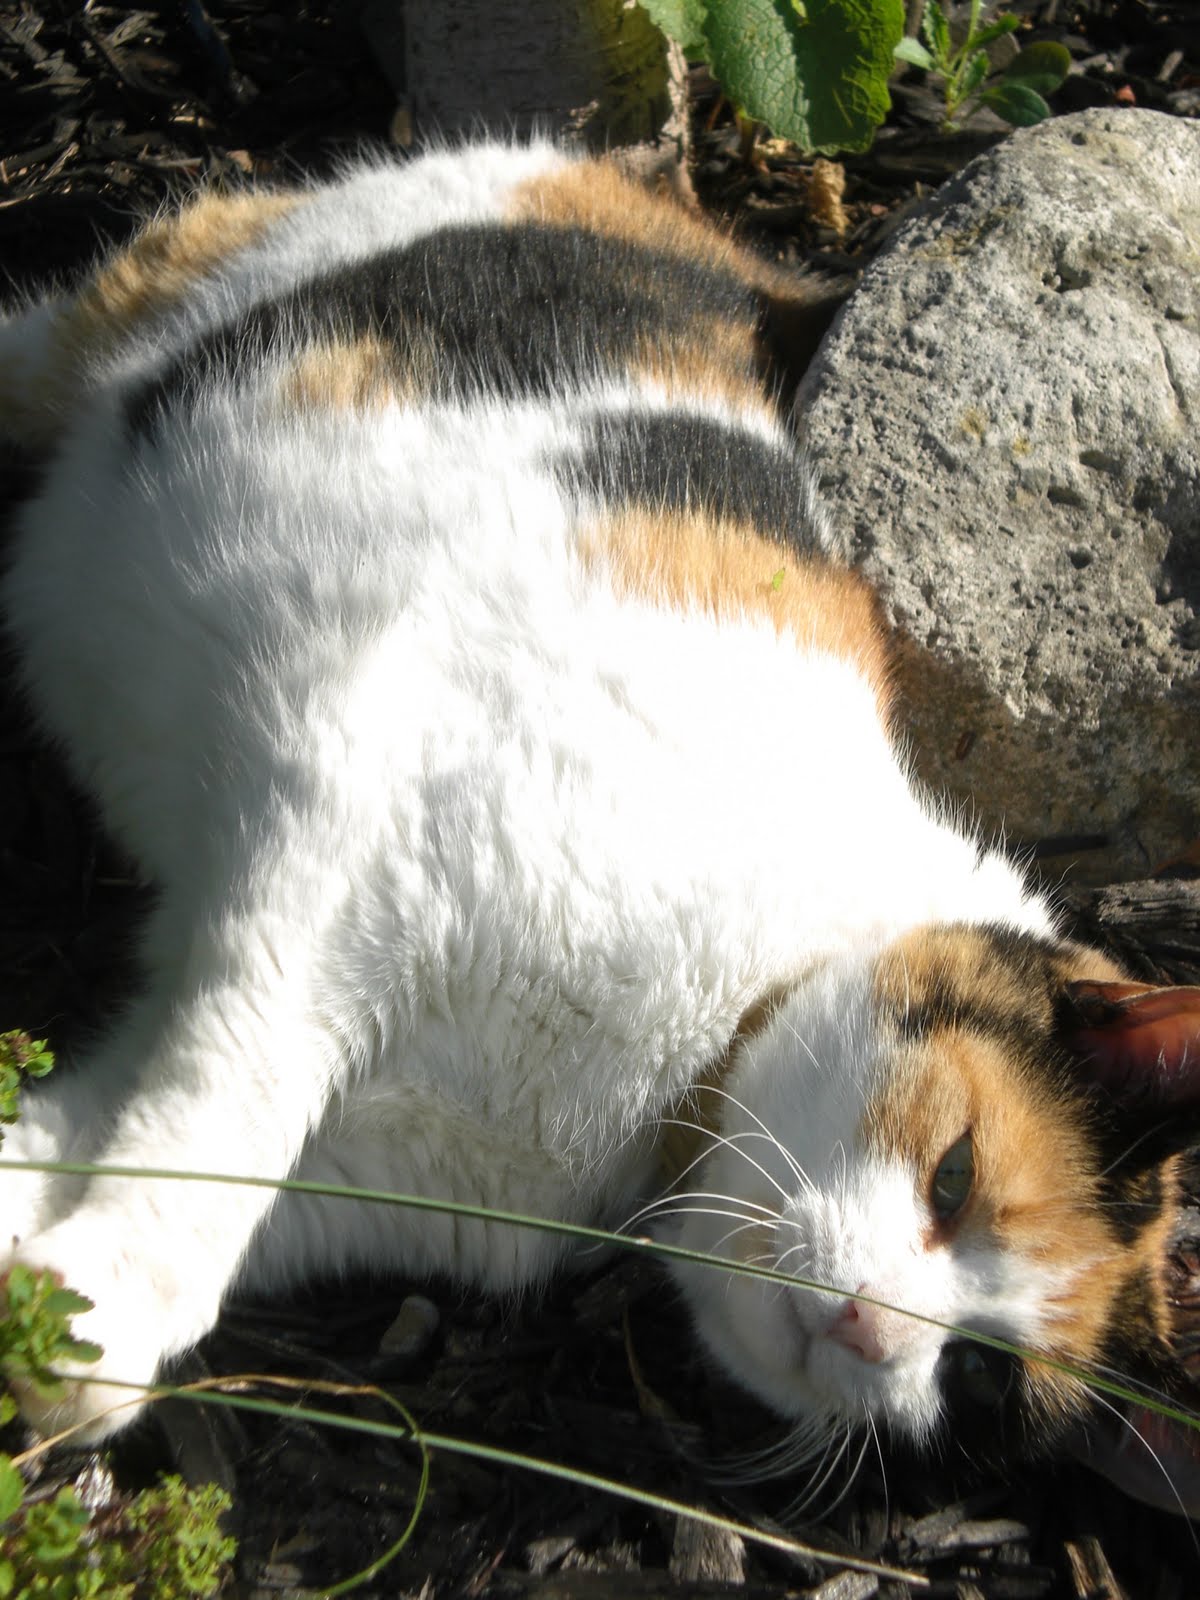
She is such a precious little cat, so gentle and affectionate. I think everybody should have such a lovely critter in their life. Don't you?

I hope you are all well.

Have a peaceful and creative day,

Karen B.

Thursday, July 14, 2011

More Nest Creations

Hello my dear friends,

today I would like to share some of my older creations. I made these little nests long before I started Todolwen. I had found the instructions on Cathe's blog http://www.justsomethingimade.blogspot.com/ and loved the idea right away. The thought of using what ever you had on hand was just great. From wool to twine, wire to paper, feathers, string, and thread ~ anything was perfect.


I love old stemware and combined with the little nests it became exactly the look that I wanted ~ natural yet elegant and pretty!


Again any style or size of glass was just right. My favourite style is the older stemware that has been engraved, frosted or embellished.


There are no limits to what you could do with these really!


I really  love the look of these nests. I find that the the more types of material you use to create them with, the better they look!


Isn't this just so adorable?


The smaller nest will hold one little egg ...


where the larger one is the ideal home for three eggs.


Even one of my little cupboard mice found a little place to call home in one of the nests ...


... and it seems to be quite happy there too!

There are really no limits to what can be created. For some creators less is more and for others the "full monty" is needed. It doesn't matter which way you like it as long as you have pleasure in creating and it makes your heart smile.

I hope you are all well.

Have a peaceful and creative day,

Karen B.

Friday, July 8, 2011

My Baby Shoe Re-Do ~ Part 2

Hello my dear friends,

I honestly didn't think that I would be writing this post today since after I finished last night I had no idea what I was going to do with my second pair of baby shoes. It is amazing what can happen when you sit and look at something long enough. All the sudden a picture formed in my mind ~ the finished creation for the second pair!!

It really didn't take long to get everything I needed together since most of it was still on my work table from yesterday evening and within an hour I was taking photos to share on Todolwen!!


This is what the second pair of baby shoes look like last night.


Remember my little harvest of rose buds from my old rosebush ~ here they are dried and ready to use.


Another thing I wanted to share with you is this really neat wool I found in a sale bin at Michaels - doesn't it look like moss on a string? I used some of it in both pairs of baby shoes.

I was very happy with what I had done with the first pair of baby shoes so I decided to keep the same general idea but to still do it different ~ if that makes sense?! Take a look and see what I mean.

Here is the result ...


This is what I had pictured in my mind this morning!


Everything is delicate and petite
 ~ like it was meant to be!


As you see the same idea but yet different ~ a standing little shoe nest and a hanging little shoe nest.
They only thing I change was the color and theme.


I stuck to certain things I had used with the first pair of shoes, like the old shoe buckle as a hanger.


The dried little rose buds were perfect for this project ~ not too little and not too much!


I hope you have enjoyed my two part baby shoe re-do. I have certainly enjoyed making and sharing them with all you lovely friends in blogland!

I hope you are all well.

Have a peaceful and creative day,

Karen B.

Thursday, July 7, 2011

My Baby Shoe Re-Do ~ Part 1

Hello my dear friends,

a few days ago I went wandering in my craft room with all it's corners and hiding places to search for something to create with and I came upon 2 pairs of little shiny black baby shoes. Looking at them I knew why they were still sitting in my cupboard untouched ~ I didn't like the look of them!


Sweet and neat, but not my thing!


What to do?? Cover and smother them with lovely white clean Gesso!


I decided to paint the plainer pair of shoes in a pale blue ~ robins egg blue ~  and to speckle them with dark brown stain ~ just like robin's eggs!

So far, so good! Now for the rest of the transformation aka re~do. What to do, what to do?? All the sudden I knew what these little shoes were going to look like.


Little nests!!


Spanish moss, some feathers, a little piece of moss green wool ...


a few speckled eggs and an old earring with light blue sparkles and my first baby shoe nest was finished!!


I love it!!
But there was another little blue shoe to be recreated ...


and this is the result of the second little shoe!


A pale brown crinkly seam binding ribbon ...


covers the old brass buckle that I used for a hanger.


I used the same bits and pieces with this nest as I did with the other shoe nest.


The finishing touch on this creation was to use the other little earring.

And last but not least ...

there is still the other pair of little baby shoes waiting for their re-do
 but you will have to wait for my next post:

My Baby Shoe Re-Do ~Part 2.

I have already started to work on them and right now they look like this!


I hope you will drop in to see the result of my next creation!!


Have a peaceful and creative day,

Karen B.

Thursday, April 28, 2011

Bring Out Your Doilies - A New Birds Nest Tutorial

Hello my dear friends,

whilst working with my little coconut fibre pot on Tuesday and waiting for the tea stained eggs to dry I thought it would be nice to come up with a new little tutorial for you!

After my Easter basket which was made from a stiffened doily my thoughts went with a nest made the same way.
 
 
And this it what you will need:

- An old doily
- Wooden egg/eggs
- Fabric stiffener
- Teabags and hot water
- A bowl for tea staining/a bowl for stiffening the doily
- A small tin to mold your nest with
- Book pages
- Plastic wrap
- Scissors ( I used decorative scissors but you can use plain if you wish)
- Aluminium foil
- a piece of cake or pie ( not a necessity just yummy)
 

Boil your water and throw 3 tea bags into your bowl and add your eggs (wooden eggs that is my fellow bloggers - I don't want anyone accidentally cracking a couple of real eggs in there! No baking today) and doily. The doily won't take as long as the eggs. Once you have the right color for your doily, take it out and let it dry. Your eggs will take about 2 hours in the mixture. Yet again once you like the look, take the eggs out and let them dry over night. Note, the shade of color will dry lighter than when wet.
 
 
When your doily is dry the next step is to get your things to stiffen your doily.
 
 
Place a piece of foil down and cover your tart tin with plastic wrap. Both of these items will help your doily from getting stuck whilst drying.
 
 
Place your doily into the bowl and pore some fabric stiffener onto it. You are best not to use too much at first, you don't want it dripping with the stiffener and you can always add more if needed.
 
 
Work the stiffener into the doily. Once the doily is saturated, wring it out a bit so you don't have too much excess liquid otherwise it will dry as a plastic like texture which you don't really want.
 
 
Place your doily over the tart tin stretch it out.
 
 
You don't want it too neat, because you are trying it make it look a bit natural. This is yet again the time when the yummy stuff comes into thought.  (I have a thing for oatmeal muffins when I sit and wait.) Now you have to let your doily dry. I tend to leave mine over night to do so.

The following day ...
 
 
Your doily should be dry now. Peel it carefully
from the tart tin.
 
 
Now is the time you can decorate your nest. I decided to go with Scrabble pieces and use the word 'nest' which I glued to the rim of the nest. Use a good glue that has instant stick so the pieces stay put right away if you want to do the same. 
 
 
You can make the the 'stuffing' for the nest. Cut thin strips of book pages either with plain or decorative scissors, which ever you prefer. Use about 1 - 2 pages not more. If you don't like book pages why not try music sheets?
 
 
Scrunch the strips up and place into the nest and the last thing to do now is to place your eggs into the nest.
 
 
Finished!!
With this creation I think less is more but you can decorate as much or as little as you wish.
 
 
I hope you have enjoyed this tutorial today.
 
Have a peaceful and creative day,
 
Karen B.