Copyright of Content and Name of Todolwen Karen Bailey 2013

.

Thursday, February 9, 2012

A New Tutorial ~ Lace Cards

Hello my dear friends,

I have been so very busy this past weekend working on several  projects. After finishing one of them that is when I thought this might be something good to share in the form of a short tutorial because I think that this quick and easy project might be of help to some of you to organize your laces and ribbons and ... it looks nice too!

I am sure you all agree that storing lace in different objects like old tins or jars looks amazing but ... when it comes to finding the right lace or ribbon to work with ... how many of you ~ just as I have been ~ were confronted with this hug ball of tangled lace? And this is what had happened to me over the weekend. I was working on my ballet slippers and I needed some lace which is stored in an old box and I ended up with almost all of it as one big ball in my hand and that is why I made this little tutorial. I didn't have to go out especially to buy anythingfor this project and I am sure many of you have everything you need right there at home already. It's a really good way to recycle as well because you can use almost any cardboard and container. I have also made two sizes of the lace cards so if you have less or more of a lace/ribbon you will have the right size card.


My lace before ...
 
 
... all tangled up in a box!


This is how I solved my problem ...
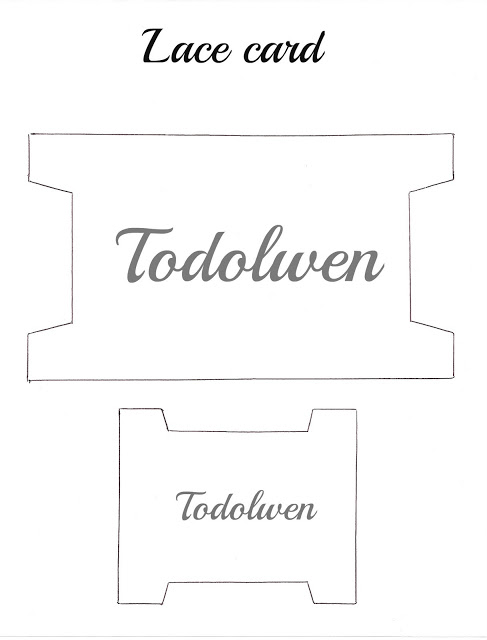


These are the pattern sheets ~ please print (template sheet onto paper, label sheet onto stock card)
 

Here is the new lable sheet for your ribbon!!


NOTE:
To all you lovely bloggers that have printed this off before 11am eastern time on Feb.9th.

 Unfortunatly I made a mistake when I looked up the French word for 'lace', because there is more than one of them (which I didn't know). I have corrected the label sheet now with the right wording. Lacet means lace when you are talking about shoe laces which I was told by a sweet blogger named Christa. So, it is up to you now, you can either replace the word 'lacet' with the word 'dentelle' or you can leave it if you like. If any of you have already started with the 'wrong' word ~ I am so sorry!! I always check my work over and over but I think I was just so excited to share my new tutorial on my blog and I didn't check it good enough. I will try to make sure that this will not happen again in the future. 

You will need the following:
 
 
~ A box to store your lace cards in
   (if you would like to do so ~ mine is a photo box from Michaels,
    you could  use an old tin or anything you like)
~ Cardboard (I used all sorts, from frozen pizza boxes to cereal boxes)
~ Printed out patterns (provided above)
~ Scissors
~ Scalpel or paper knife
~ Pencil/pen
~ Ruler
~ Glue (I used Liquitex but you can also use Modge Podge if you prefer)
~ Paper to cover your lace cards with (music sheets, scrap booking paper, old book pages etc.)
~ Distress Ink/small cloth (if you wish to ink your edges for an aged look)


And this is how it's done ...


1. Print out the pattern and make a template by gluing the pattern onto a piece of card and cutting it out.


2. Place your template onto your cardboard and draw around it (a pizza box will give you two large, and two small cards)
 
 
3. Cut your cards out now ~ a scalpel and ruler will come in useful when cutting the card on the inside of the pattern.
 
 
4. Now glue your card to a decorative piece of paper of your choice and then place it on the side to dry for a little while. If you lay a heavy book on top of it, the card won't bend too much whilst drying. I used double sided scrap booking paper that I got on sale at Michaels. Until now I didn't have much use for it so it was perfect (and pretty!!!) for me to use on this project. You could use book pages or old music sheets too. Once dry, cut off the excess paper.


5. ~ Turn you card over and repeat step 4 again.
 
 
6. The next step was using my Distress Ink pad and I inked the edges of the lace card. If you wish to do so make sure your ink is dry before winding your lace onto it!


7. The last thing I did was to make small labels with the word 'lace' printed on it in. Cut the label out, age the edges with your ink pad and glue it to the top of your card. I thought it would be nice to use different languages for the word 'lace' ~ I chose English, French and German ~ you could always find more or you could skip this step altogether. And that's how it's done!


And this is my lace now ...


 All you have to do now is to wind all your lovely lace or ribbon onto your cards and to hold it in place you could make a few of my 'neat pins' and use them! Now just place your cards into your box (or other storage container) and there, you have a useful and pretty addition to your studio/craft room!!!


 If you like you could even make them as a gift for someone and personalize them with their name ~ that would be rather nice! 

I know this was a very easy tutorial and a simple idea but I do hope you have enjoyed it and that it will prove to be useful for you one day.


I hope you are all well and life is treating you kind.

Have a peaceful and creative day,


Karen B.

Wednesday, February 8, 2012

A Challenge To Myself ~ Part 2

Hello my dear friends,

thank you for stopping by to check out what I have been up to here at Todolwen. Today I would like share the second part of the 'challenge to myself '. I am sure I am in need of glasses after completing this challenge ~ sewing super tiny stitches by hand isn't good for my eyes anymore but I did it.  I have had so much fun creating these tiny beings and I am sure there will be more wee mice living in my home in the future. I have not only made another tiny mouse and this one is the smallest so far but I have also given the first two their final look including whiskers, homes and names.

My first wee mouse was this one ...


... her name is Peasblossom ...


... and her home is a little lace bed in an a small vintage sieve.


Then came my second little critter ...


~ Mr. Jingles ~


And finally there is my smallest little creature (so far) ...


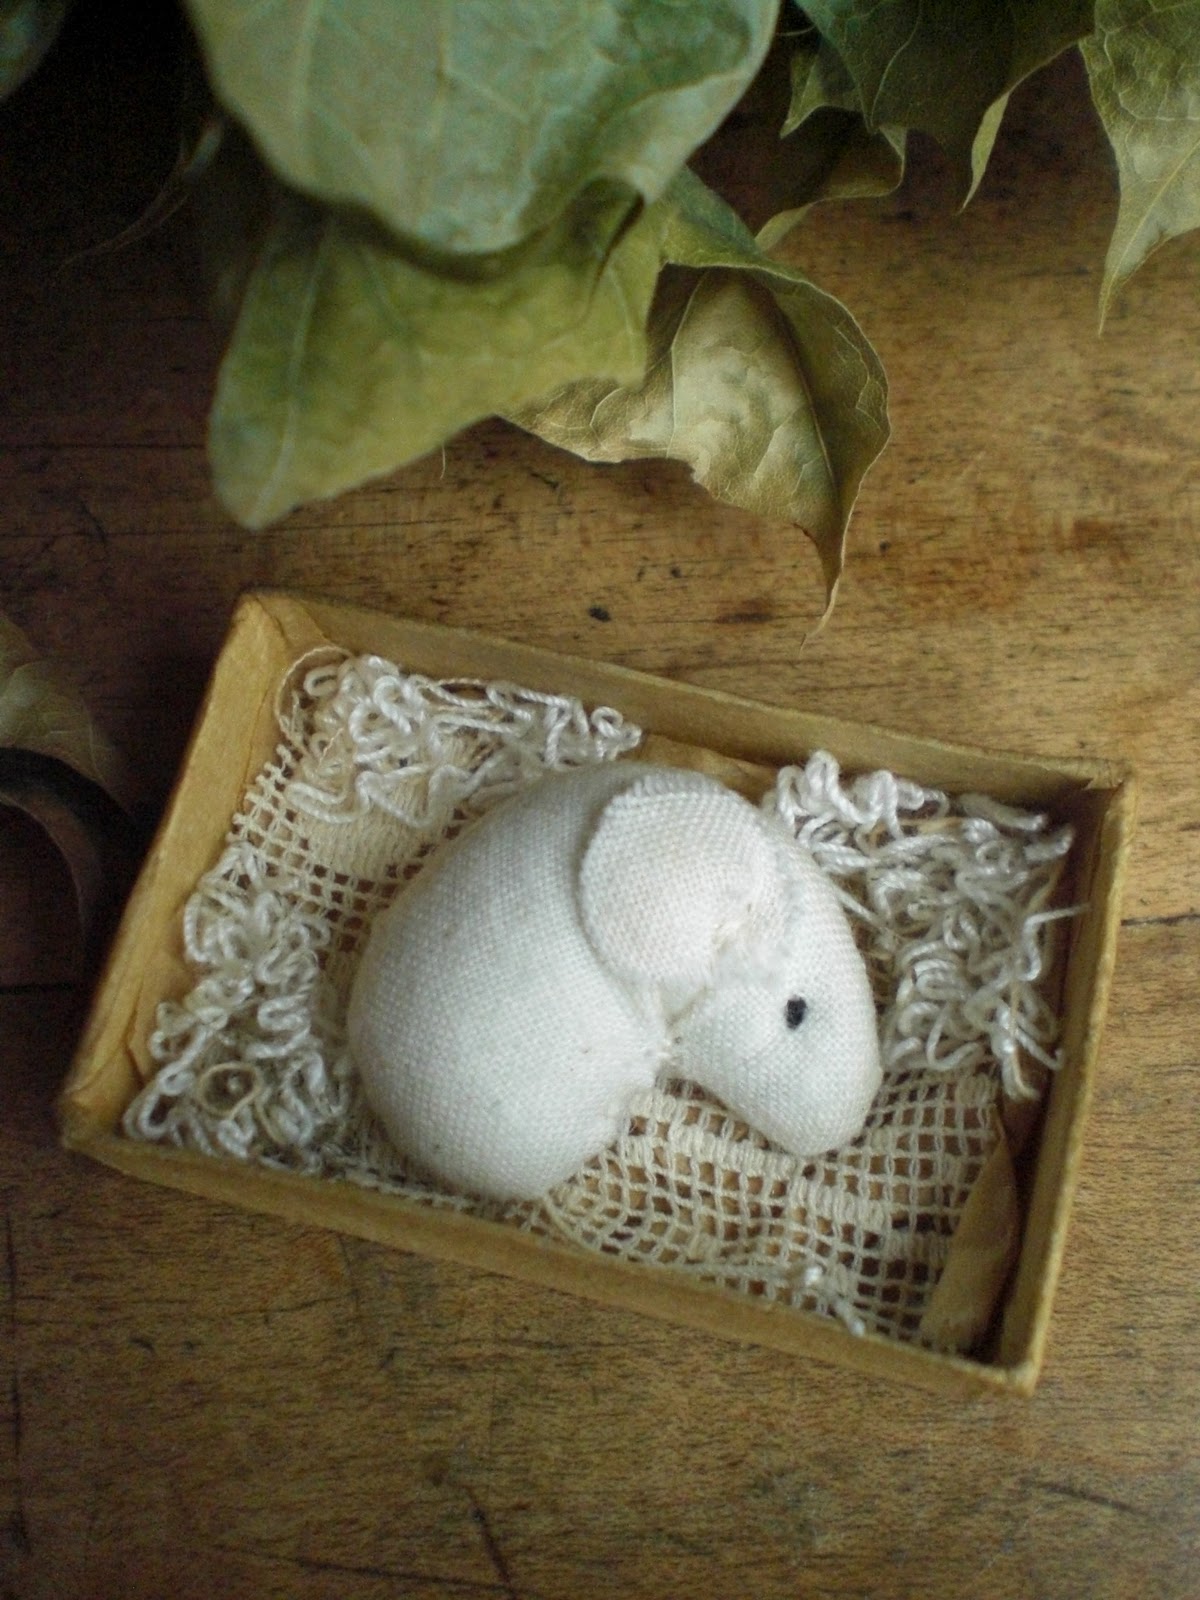
... this one ~ it is such a tiny wee mouse!!


This is the little fellow before he was completed ...


... and this is him in all his tininess and his name is ... Pea~Wee!


... and this is his tiny home. He loves to sleep in his wee walnut bed all cuddly and soft!


Here are all my little critters together ...


... I think they are the most cutest wee mice ever!!!

I hope you have enjoyed the challenge I gave myself as much as I have because I truly have had so much fun pushing myself to keep creating something smaller than I have ever created before.


It is good to challenge yourself at times ~ it could be the smallest thing ever ~ it is just good to be able to prove to yourself that you can do it!!!


I hope you are well and life is treating you kind.

Have a peaceful and creative day,


Karen B.

Tuesday, February 7, 2012

A Challenge To Myself ... Part 1

Hello my dear friends,

I am sure all of you have been a little bit bored at one stage and didn't have an idea on what to create and that's what happens to me as well. I wanted to tell you about a challenge I gave myself a few evenings ago. Do you remember my little mice that I make? They sleep in my felted nests or on top of little tart tins filled with nuts.


These are my cupboard mice.


The first mouse I designed was for my primitive creations and it looked like this. A neat mouse but after a year I decided to put some more work into the look of this little creature and then my mouse looked like this ...


... a smaller and a cuter little mouse.

I really like my little cupboard mice, they are small and neat and I adore them but then I got bored a few days ago and I thought to myself  ~ how small could I make them? So, off I went into creating mode and I tried.

 The first result was this ...


... my wee cupboard mouse!!

 This is my unfinished little critter right now.
It is half the size of my small mouse and so you can see the size of it better I took a photo with a looney to give you something to compare it to. But I didn't stop there ... I tried to go a little bit smaller and I did!


(the tiny mouse on the left was my second attempt)


This tiny mouse is even smaller than my first attempt ~ not by very much ~ 10% smaller than the first one, but it is smaller! It is so small it is almost the same size as a quarter and it even fits in here ...


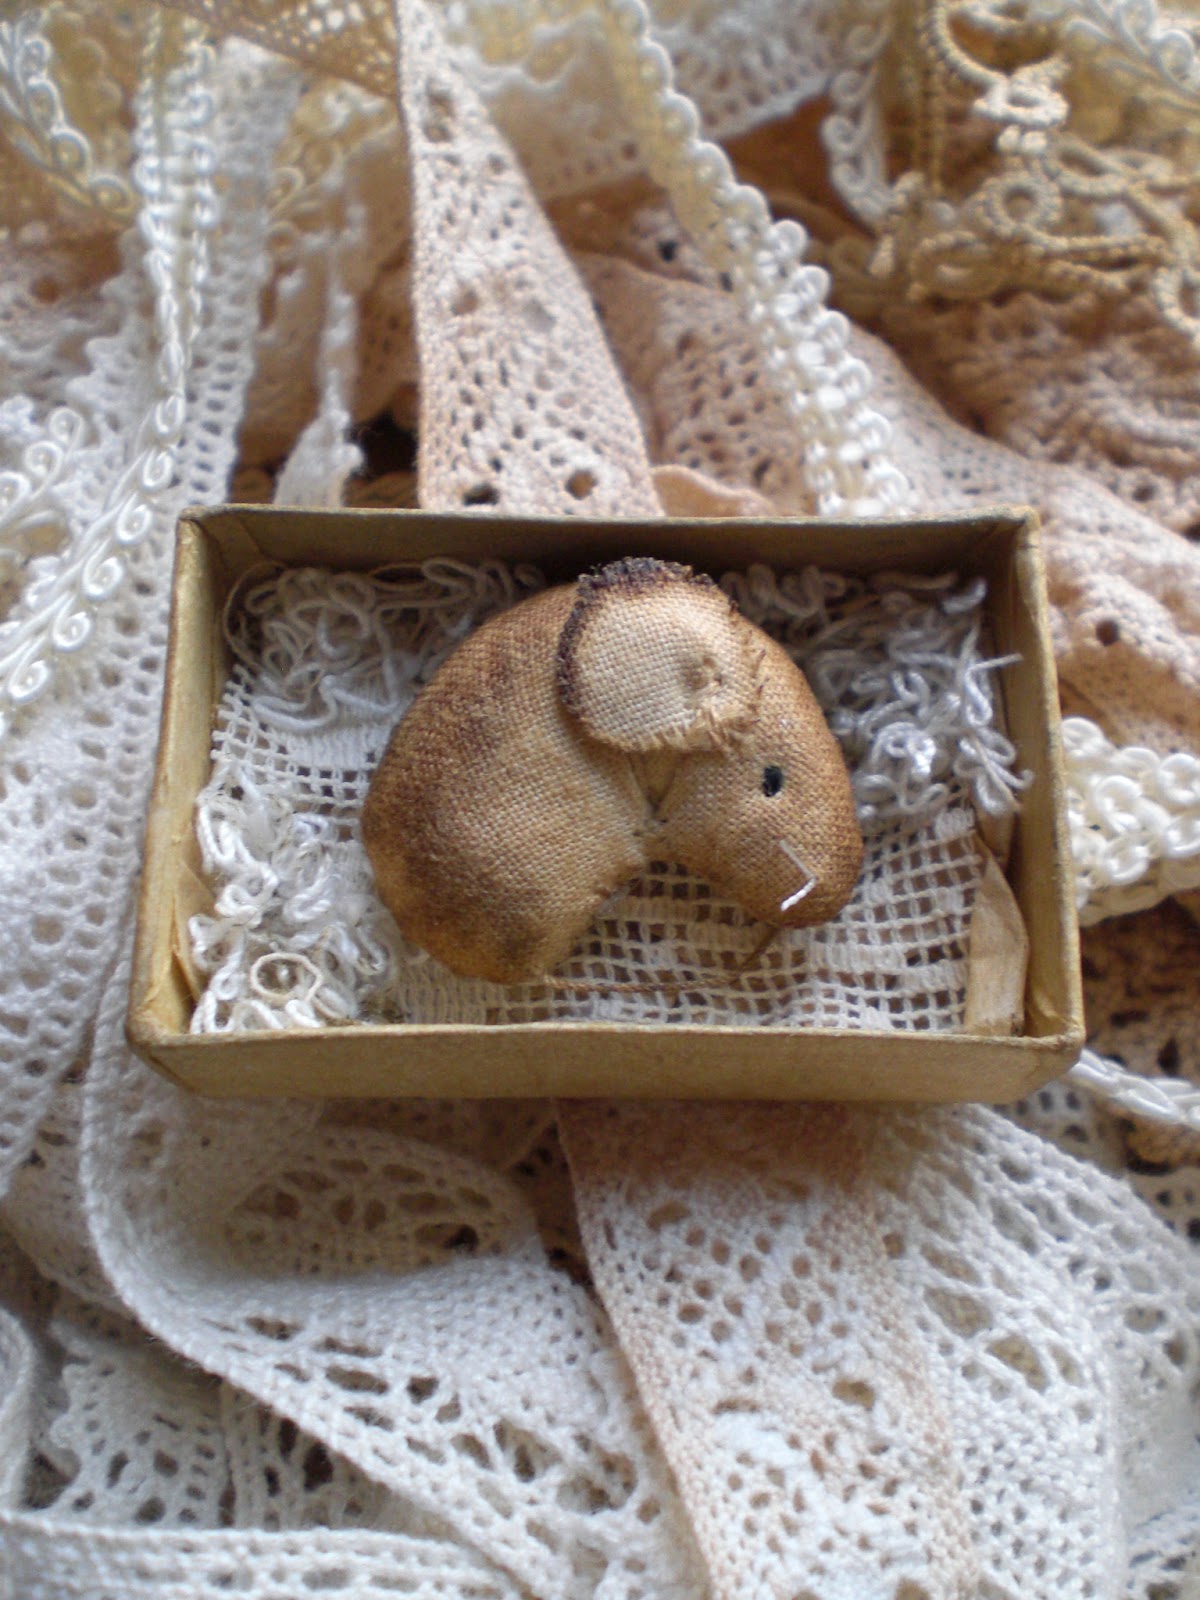
... a little matchbox home ...


... and a name to go with it ...


... this tiny creature is called Mr. Jingles.
(My daughter Ashleigh thought is would be the perfect name for it and I must agree.)

The next step is to give the tiny mice their proper look by staining them. I might even try and go a little smaller ~ I will have to see because the problem that I have are their tiny little ears. They are very hard to sew to make them look the way the are ~ you see I don't use glue in this creation because of their size I hand sew them. We will see ~ if I do go smaller and the tiny critters turn out I will of course share it with you.

So far I think that I did succeed with this self challenge ~ do you?
I hope you enjoyed my wee creation today and do come back to see what happens in part 2 of  my challenge to myself.

I hope you are well and life is treating you kind.

Have a peaceful and creative day,


Karen B.

Monday, February 6, 2012

Lisa's Ballet Slippers

Hello my dear friends,

from time to time I love buying a tutorial and recreating something beautiful from a fellow creator. And that's what this post is about today.  A little while ago I bought Lisa's tutorial ~ from Tarnished and Tattered ~ for her altered ballet slippers and I finally had the time over this past weekend to sit down and create a pair of my own and I had so much fun making them! At first I wasn't too happy with the way things were going because I picked the wrong color but after I did find what I liked everything fell into place and it meant that I could at last use one of my many pairs of little girl's dancing shoes!

My first attempt ...


 I tried Martha Stewart's new paint but I didn't really like the look. I finally solved the problem by taking a piece of the fabric that I used for the inner sole to Michael's where the search began to find what I was looking for and I found it! The perfect color!!


Painting the ballet slippers take 2 ...


Now this looks so much better ~ I love the color I picked, it is very calm and just perfect for me. Next step is working towards their final look and that means finding lots of bits and pieces to embellish these little ballet slippers with!


And here are my finished little dancing shoes ...


... what do you think??


Thank you Lisa for the wonderful tutorial for these gorgeous shoes ~ I had so much fun creating them and I am sure they won't be the last pair I will be making.


You can find Lisa's tutorial here, just click on the link under the picture to purchase the tutorial of her altered ballet slippers!


I hope you have enjoyed my latest doings. They are so much fun to make ~ you really want to try it!!


I hope you are well and life is treating you kind.

Have a peaceful and creative day,


Karen B.


Friday, February 3, 2012

A Winter Composition

Hello my dear friends,

today's post is only a short one in which I would like to share a photograph I took last week in my backyard. I am so very busy right now with more than one project on my worktable so it is nice to be able to show you a different side of my creating. I don't tend to do very much photography really but sometimes I do try and get what I think is a good photo and I think this one is one of those.

We were having a lot of snow that day and I went out to put some food into my bird feeder. I really liked the way the dark metal of the feeder, the white snow, the dark green of the evergreens and last but not least the bright cheerful color of the bird food just came together and made this picture!! It is almost like when instruments come together to make beautiful music ... everything harmonizes!


My photography winter composition!

 
I hope you are well and life is treating you kind.

Have a peaceful and creative day,


Karen B.
Thursday, February 2, 2012

Treasures every where ...

Hello my dear friends,

it seems that I am finding treasures everywhere right now and a good variety of them as well and the best thing is that I am not always out looking ~ I am just lucky.  A shame I can't keep up with creating something out of them as fast as I find them sometimes ... but then again it is about enjoyment and not productivity when you create! I think that is something I forget from time to time.


a very nice tea sieve and the matching saucer, very good ...


... and then I saw these glass tubes ...


... a bag full of them! Oh, what to do with these?!


And finally this piece. It is a sort of pillowcase that is open on both ends and has been embellished with crochets squares ~ very pretty.

Now I just have to come up with something new and hopefully nice to create with all these new treasures which of course I will share with you once I have done so. 


Last but not least ...

... I just noticed that somebody has pinned a creation of Lori's (Katie's Rose Cottage) onto Todolwen's page on Pinterest. I have already let Lori know about this. Since I do not have a Pinterest account I can not let the person know of her mistake!


I hope you are well and life is treating you kind.

Have a peaceful and creative day,


Karen B.

Wednesday, February 1, 2012

Less Is More At Times ...

Hello my dear friends,

today I would like to share a small creation I did one late evening when I couldn't sleep. It is an old idea redone again ~ a baby shoe pincushion. It is nice to fall back on old ideas which don't cause you a headache when trying to figure out how to make something and instead you can just sit, create and relax. At times I have a really bad habit of trying too hard to make something look a certain way and I over do it but this time ... less is more!

I painted the shoe with the new Martha Stewart paints, aged it and that was it really apart from a tiny ribbon flower and a little silver charm; that's all I thought this little creation needed since the shoe itself had a lot of detail and charm already. I used some of my rose velvet for the pincushion because the color was ever so delicate and perfect ~ nothing too much!  What do you think?


I hope you have enjoyed my little creation today.

And don't forget about my giveaway! You only have until midnight on February 12th to sign up as I will be drawing the winner on the 13th! Good luck to everyone!

I hope you are well and life is treating you kind.

Have a peaceful and creative day,


Karen B.